Gutentag to all you lovelies out there reading this! Today I bring you these chewy chocolate chunk cookies, and I dare you to try saying that 3 times fast.
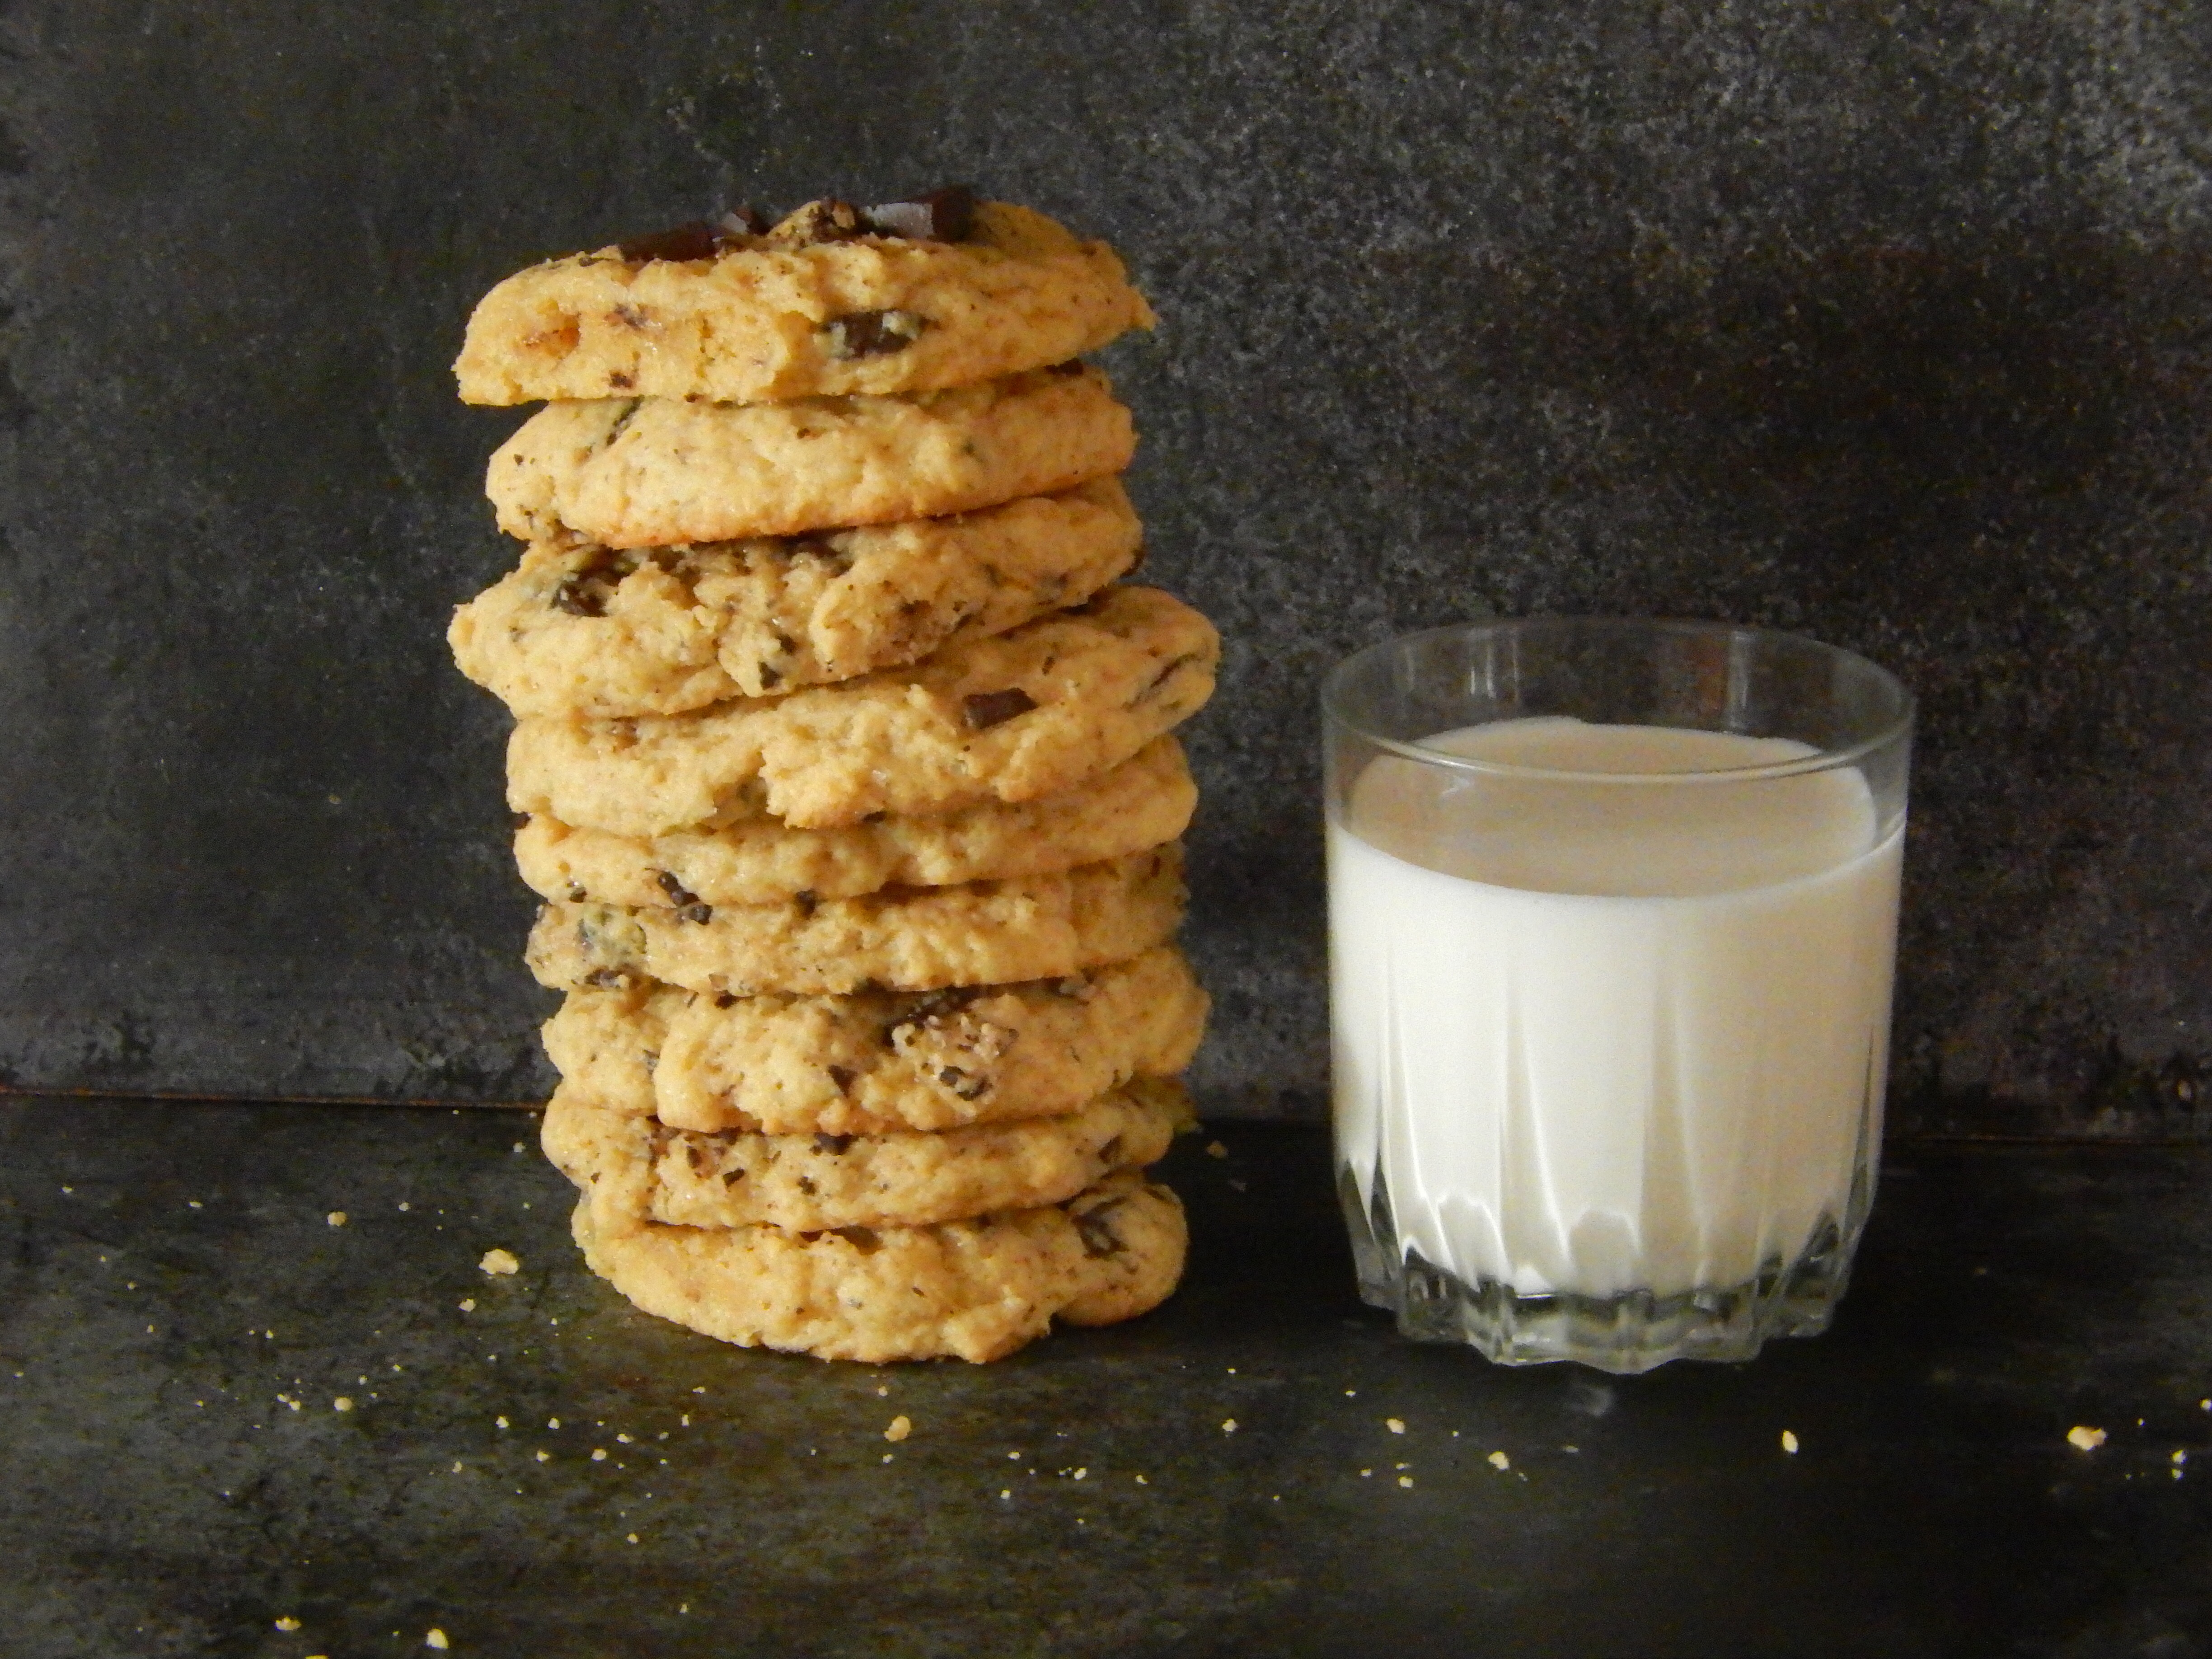
 Everybody has a different idea of what their ideal chocolate chip cookie looks like. If you’re my dad, then you want thin, crunchy cookies. If you’re my brother, then you’re going to want them thick and gooey. And if you’re my mother, then you have a headache. Just when you thought all hope was lost, this banger of a recipe shows up to reunite your cookie conflicted household. These cookies have a rich butterscotch flavour, chewy texture and banging taste. A glass of milk on the side makes these even more delectable.

Allow me a brief moment to discuss what exactly makes these chewy chocolate chunk cookies just so incredibly fantastic. This recipe does not call for you to mix two different types of sugar; it’s all brown sugar for double the butterscotch flavour. Refrigerating the dough overnight makes for an even more intense flavour, but I know that ain’t nobody got time for that. These can be baked straight away, or if you aren’t in a rush then I seriously recommend that you leave this in the fridge overnight. The best part about these is the dark chocolate pieces that will take your taste buds to paradise.

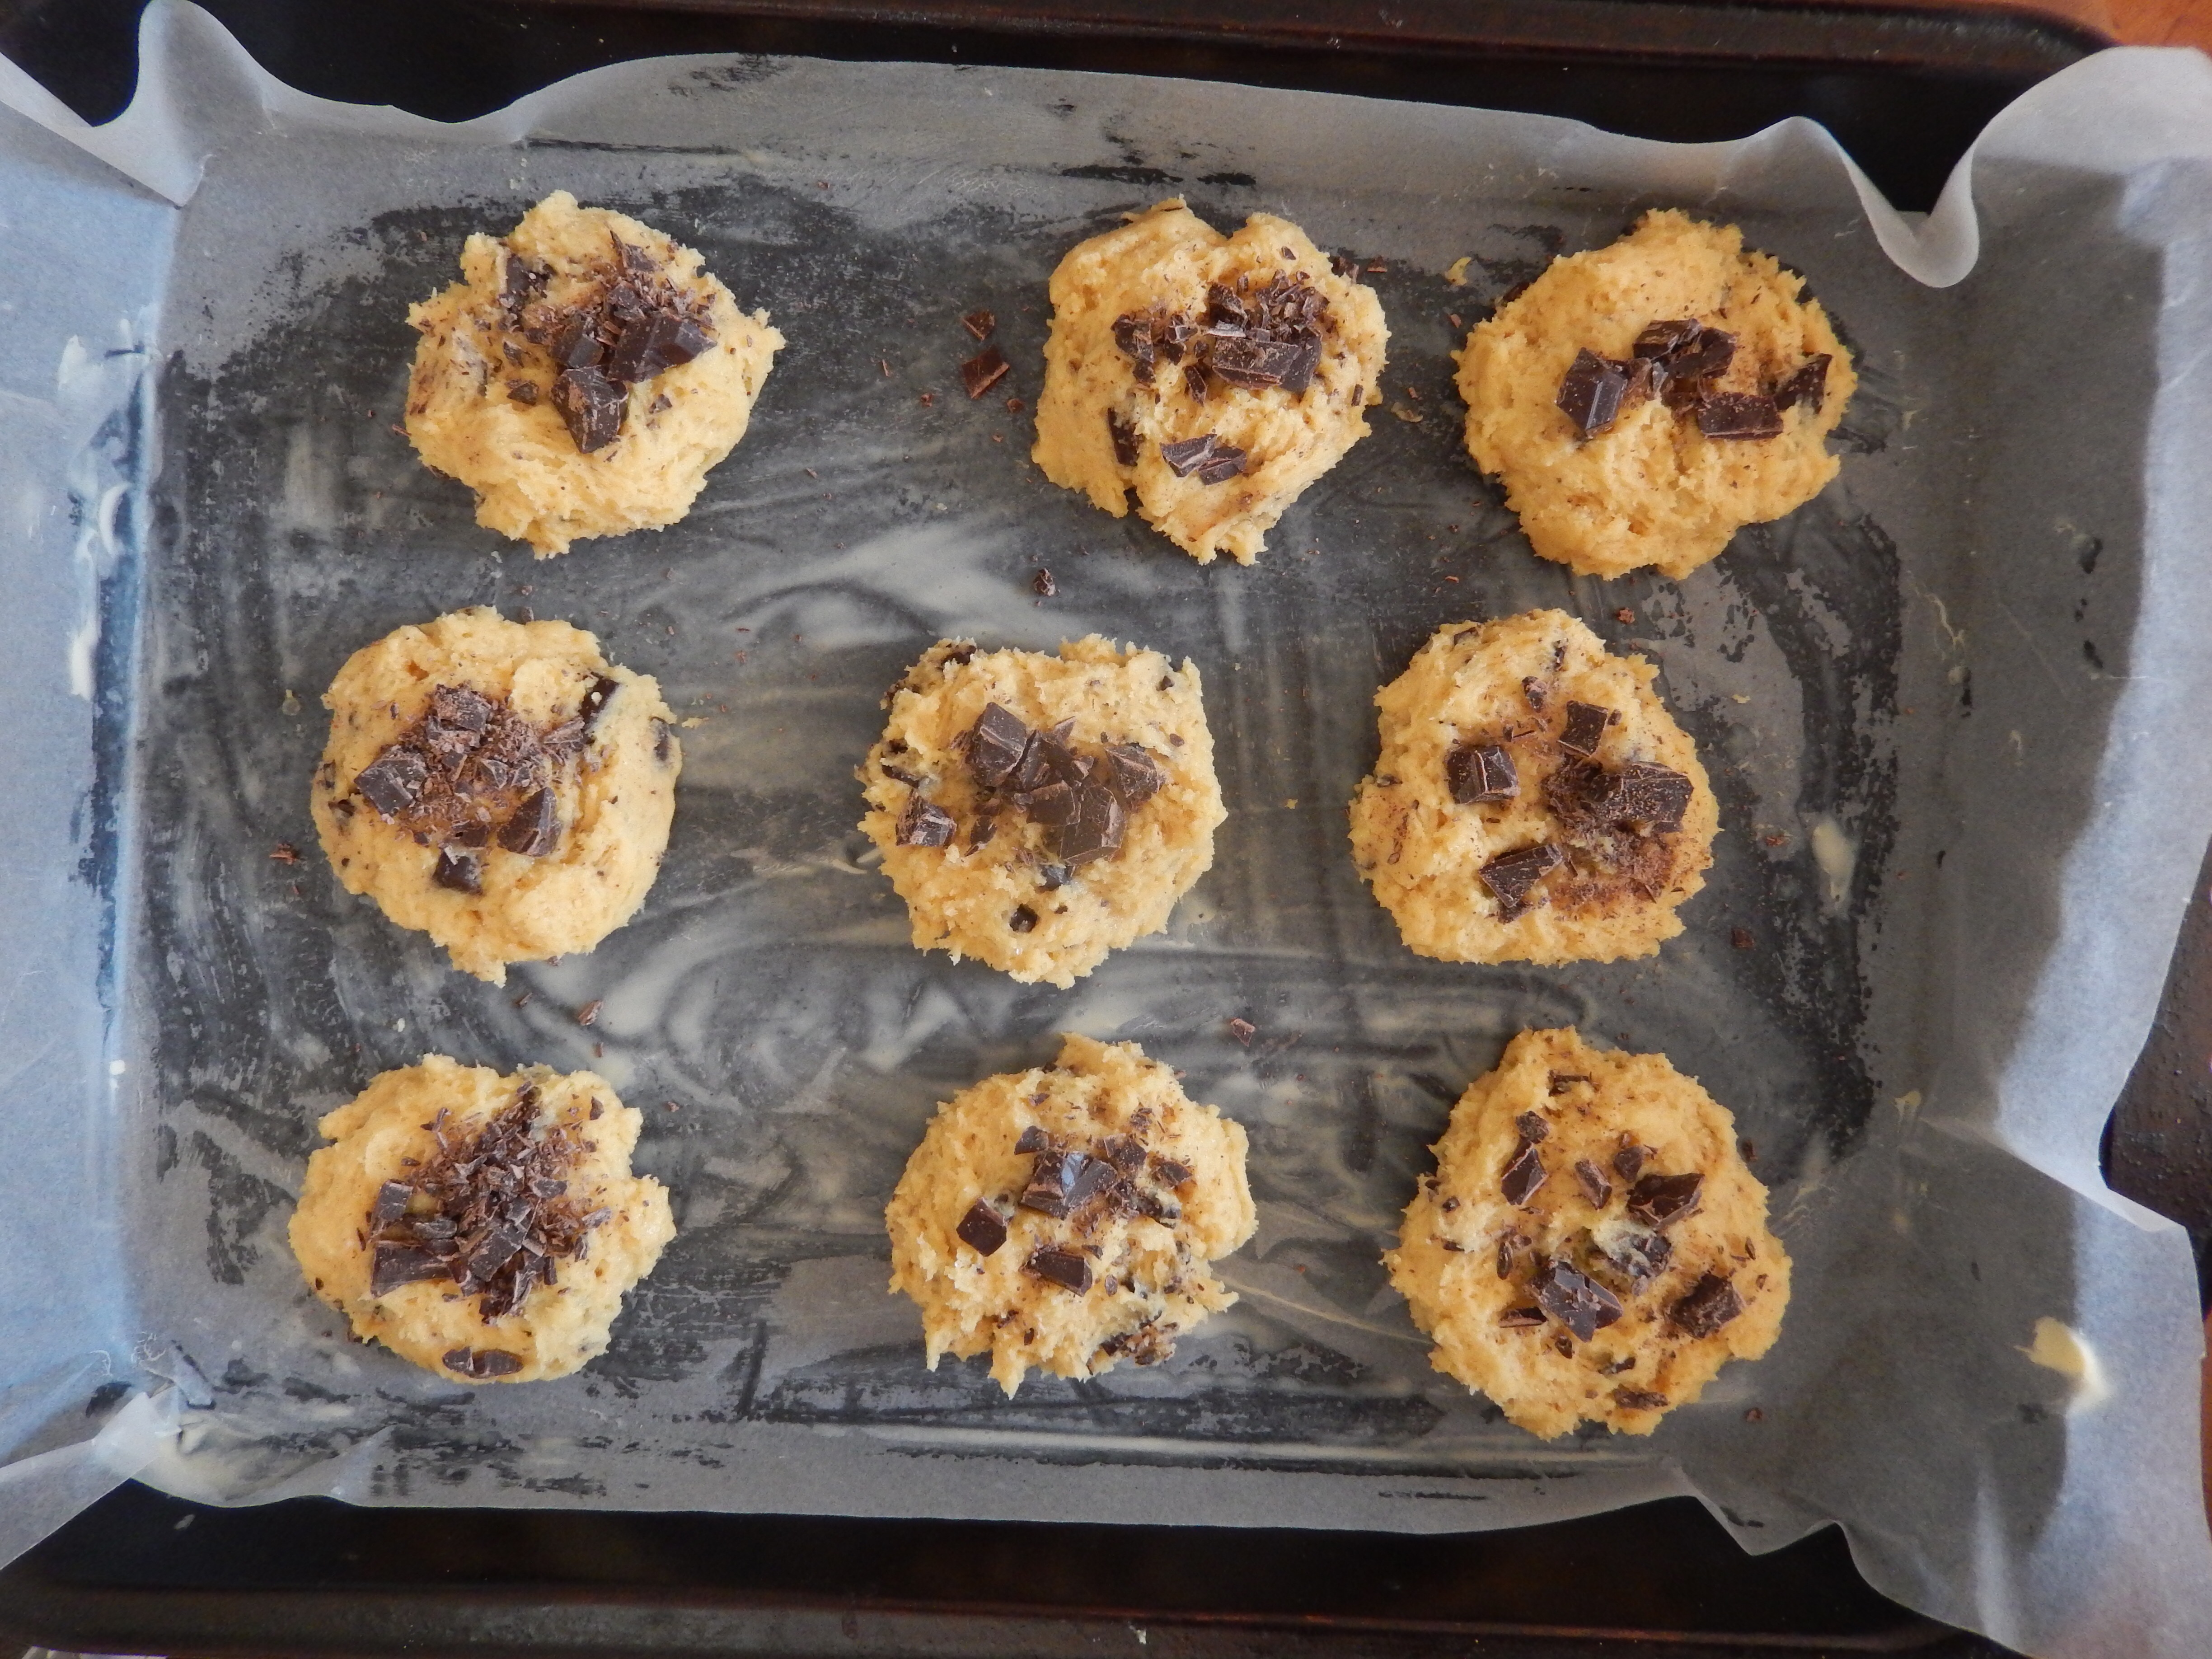
There is a serious shortage of chocolate chips in Zimbabwe right now. I’ve been to about 5 stores in the past 2 weeks and I’ve been told the same thing over and over again, “We haven’t had them in about a month”. The restrictions on various imported goods has meant that certain items such as coconut milk and the beloved chocolate chips haven’t found themselves in stores recently. But fear not fellow Zimbos! For in times of crisis, we make a plan. Case in point: we chop a bar of dark chocolate into little pieces and call them chocolate chunk cookies. Problem solved. The fact that all the chocolate pieces are different sizes ups the wow factor of these cookies by 387629. It’s a mathematical fact, I totally calculated it.

Chewy Chocolate Chunk Cookies makes 9 cookies
Ingredients
½ cup butter at room temperature
½ cup brown sugar
2 eggs
1 tsp vanilla essence
1 ½ cups + 2 tbsp self-raising flour
¼ tsp baking powder
¼ tsp baking soda
A pinch of salt
1 cup chocolate chips/chopped chocolate
Method
- Grease a 9×13 baking pan and line it with baking paper. In a medium mixing bowl, cream together butter and sugar until smooth and creamy, about 3 minutes. Crack eggs into the bowl, one at a time, making sure to mix well after each addition. Add the vanilla essence and mix well.
- Measure out the flour and add it to the wet ingredients, followed by the baking powder, baking soda and salt. Use a paddle brush to incorporate, making sure to scrape down the sides of the bowl to get every little bit of goodness in there. Stir in ¾ cup of the chocolate pieces and mix until they are evenly distributed throughout the dough.

- Using a cookie scoop/ice cream scoop/tablespoon, shape the dough into cookies and spoon them into the baking sheet. I used about 2 tablespoons of dough per cookie*Leave about 2 cm of space between each cookie. After you’ve scooped all the dough and formed cookies, sprinkle the last ¼ cup of chocolate pieces over the cookies. **Refrigerate for 24 hours. This step is optional but vital in order to obtain that intense butterscotch flavour.

- About 10 minutes before you plan on baking, remove the cookies from the fridge and let sit at room temperature whilst you preheat the oven to 180ºC/350ºF. Bake for about 10 minutes, then remove from the oven and let cool for 15 minutes at room temp before moving to a wire rack to let cool further. Serve with a tall glass of milk.

Notes:
*These cookies spread quite a bit and end up being quite large as a result, so if you would like smaller cookies then I suggest using 1 tablespoon. You would also have to reduce the baking time to 9 minutes.
**Refrigerating is completely optional but keep in mind that the cookies will spread even more, and you’ll lose a bit of the butterscotch flavour. You can keep these in the fridge for up to 48 hours before baking, or you could even freeze them for 24 hours before baking.

3 Comments Add yours